1.0 First contact
Let's start with a bit of theory so that you know the most important basic snowboarding terms. Before we even start, however, we need to find out which foot you will have in front when riding.
Goofy or regular, which is the front foot?
Before you start snowboarding, you need to find out which foot you will have in front when riding. To find out, either have someone push you slightly and see which foot you catch yourself with, or jump on a staircase. If you have your right foot in front you ride Goofy and if you have your left foot in front you ride Regular.
What is where on a snowboard?
A whole chapter could be devoted to the snowboard and its characteristics. At the beginning, however, you only need to know the different sides of the snowboard. Fortunately, the designations are very easy to understand. We have the nose at the front and the tail at the back. The long edge at the toes is called the frontside edge (toeside) and the long edge at the heels is called the backside edge (heelside).

How do you stand on the snowboard?
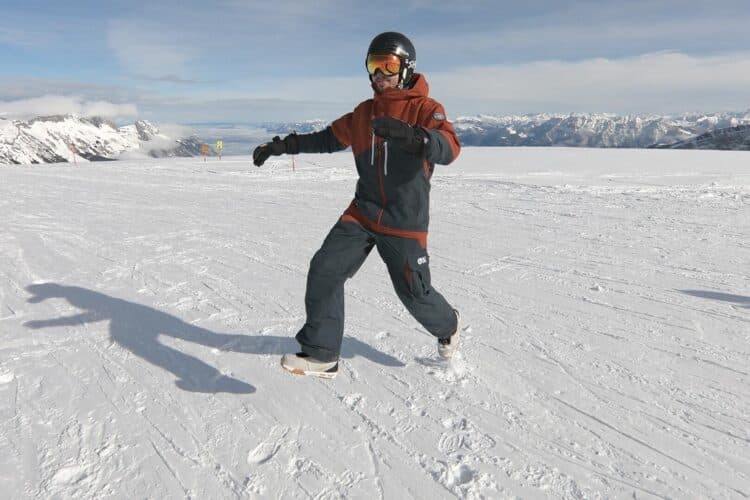
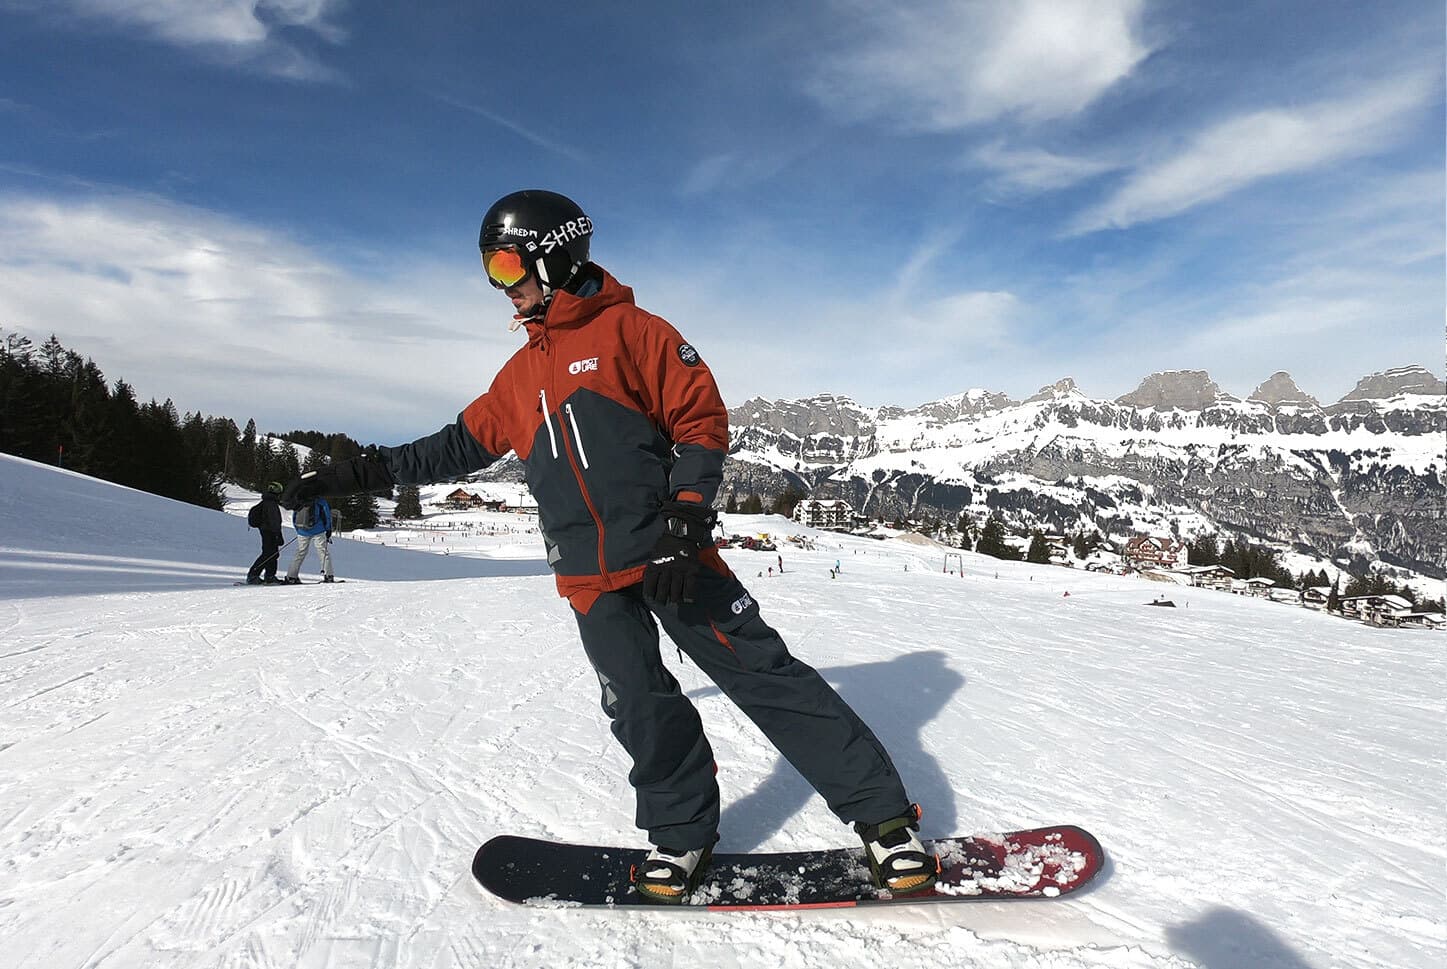
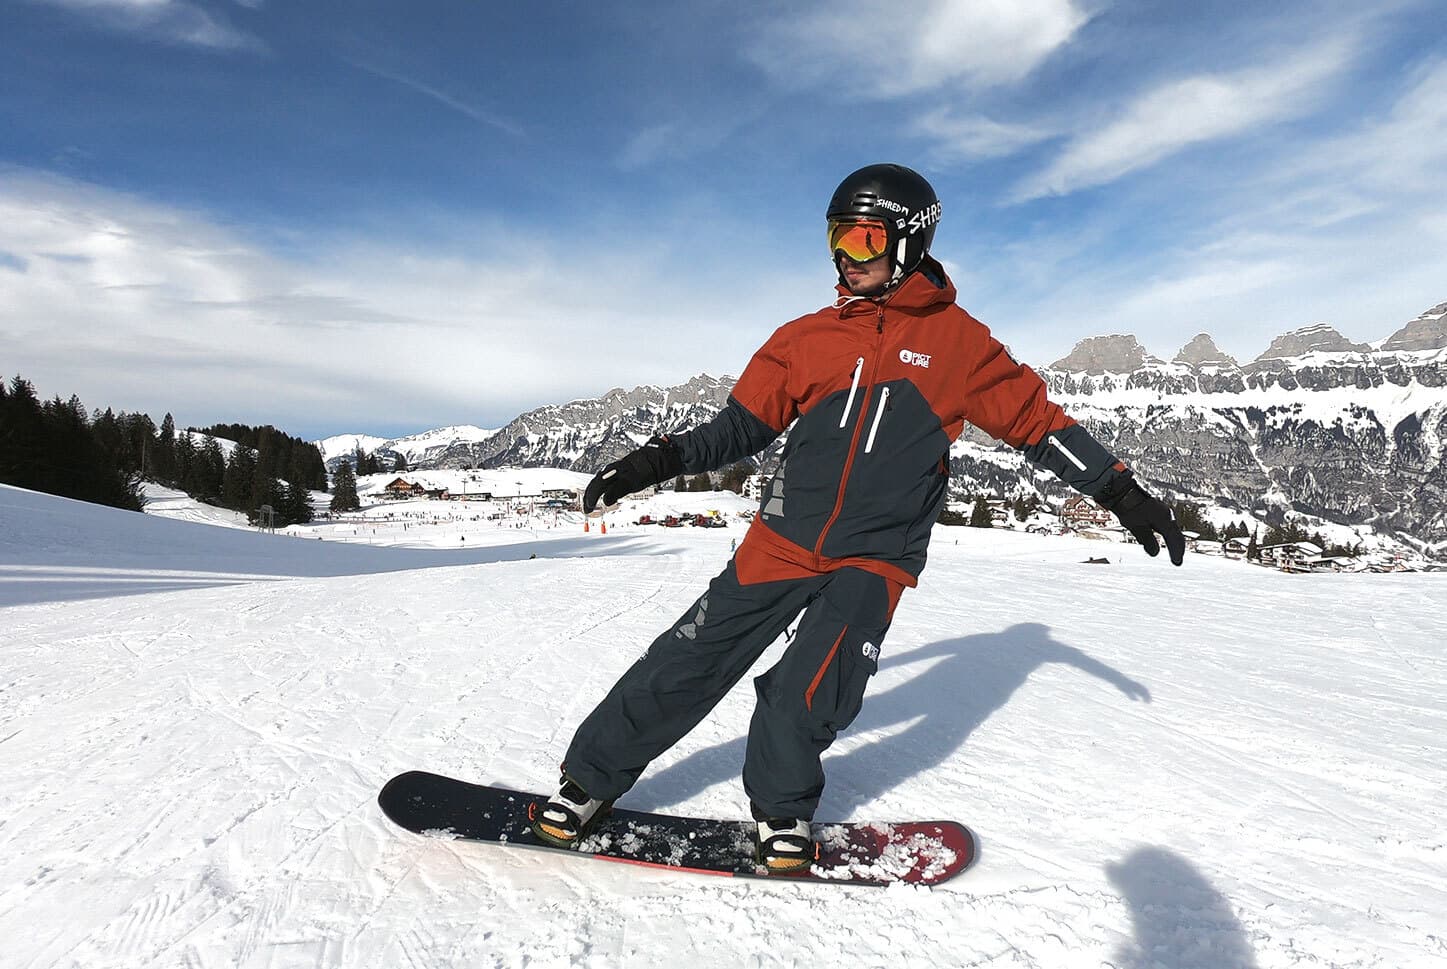
In the basic position, you stand with slightly bended knees on the snowboard and look with your head in the direction of travel. As a goofy rider you look to the right and as a regular rider you look to the left. The upper body is turned slightly in the riding direction and the arms are relaxed next to the body.
As a beginner or for children, it can be better at the beginning to stretch both arms out to the side. On the one hand, balance is a little easier this way and, in addition, exercises can be demonstrated in a more visually understandable way for children to imitate.
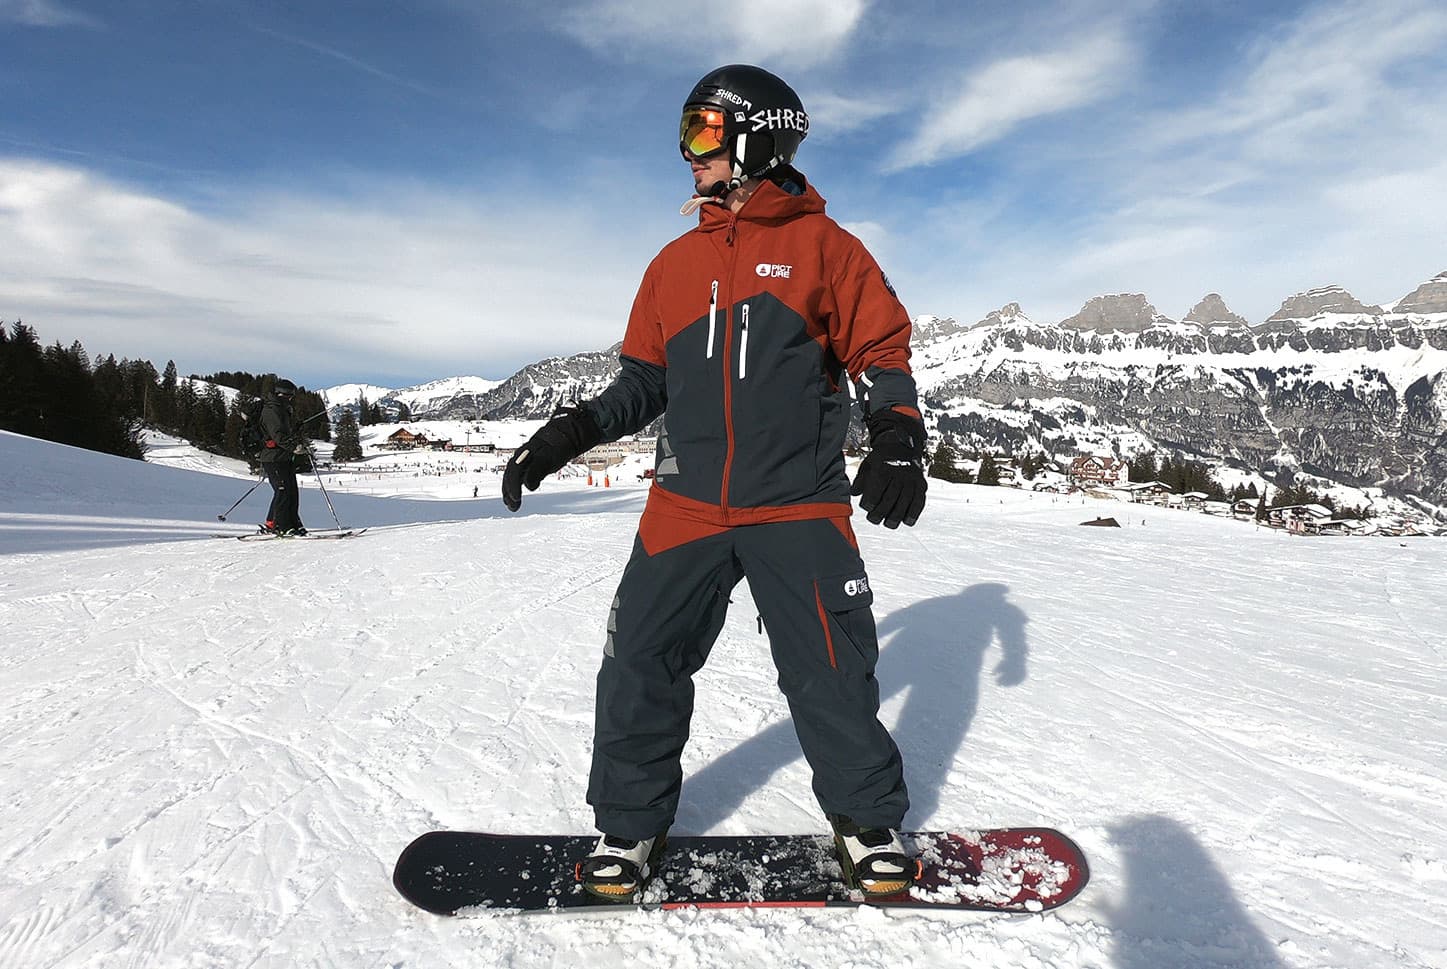
Positions and movements on the snowboard
While snowboarding, we are always firmly connected to the snowboard with both feet via the bindings. This gives us the opportunity to transfer different forces to the snowboard with our body and feet by moving and shifting our weight. At the beginning, you should try out these basic movements while standing in order to find out how you can move on the snowboard. You will also get a better feel for when you are in the basic position. We will then gradually apply the movements listed in the various modules while riding.
Edging up and down
These movements are about the increase or decrease in snow resistance caused by the snowboard edge. The easiest way to visualize this is to imagine a small triangle between the edge of the snowboard and the snow. If we increase this angle, we edge up and if we decrease this angle, we edge down. By edging up we slow down the snowboard and by edging down we speed up. The movement takes place via the foot and as we can move our feet independently of each other, we can also edge up or down with just one foot. If we don't do the same thing with both feet, the snowboard will turn in the direction of the foot with which we are more edging down. This combined edging up and edging down will bring the snowboard into a torsional twist.
It is not easy to stand on the edge on flat terrain and without riding. So only edge up and down very slightly and hold on to a colleague if necessary.
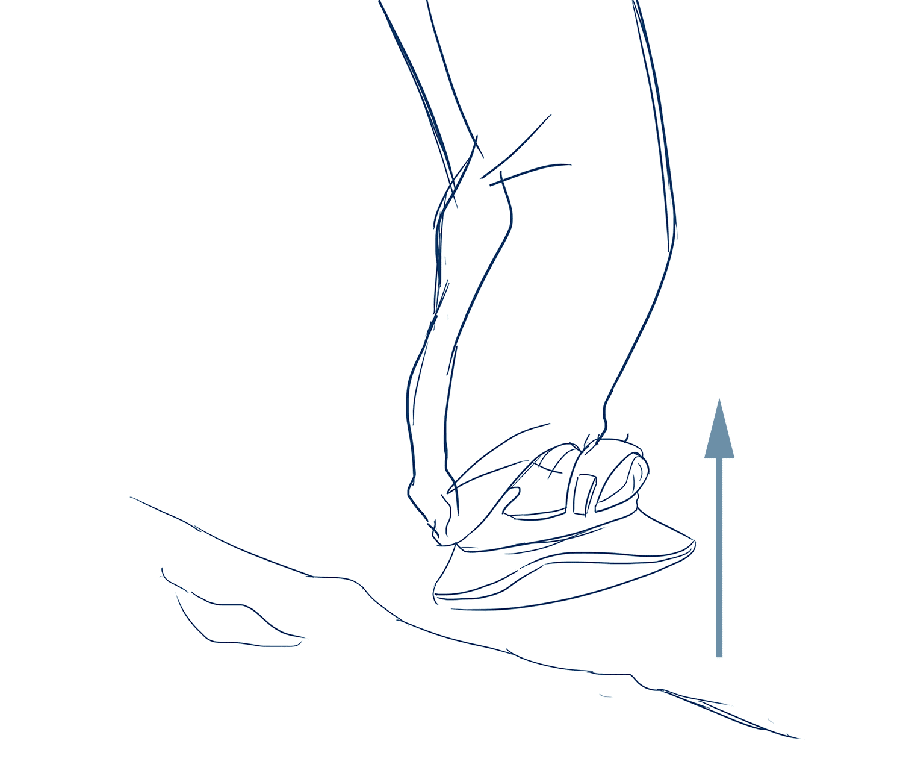
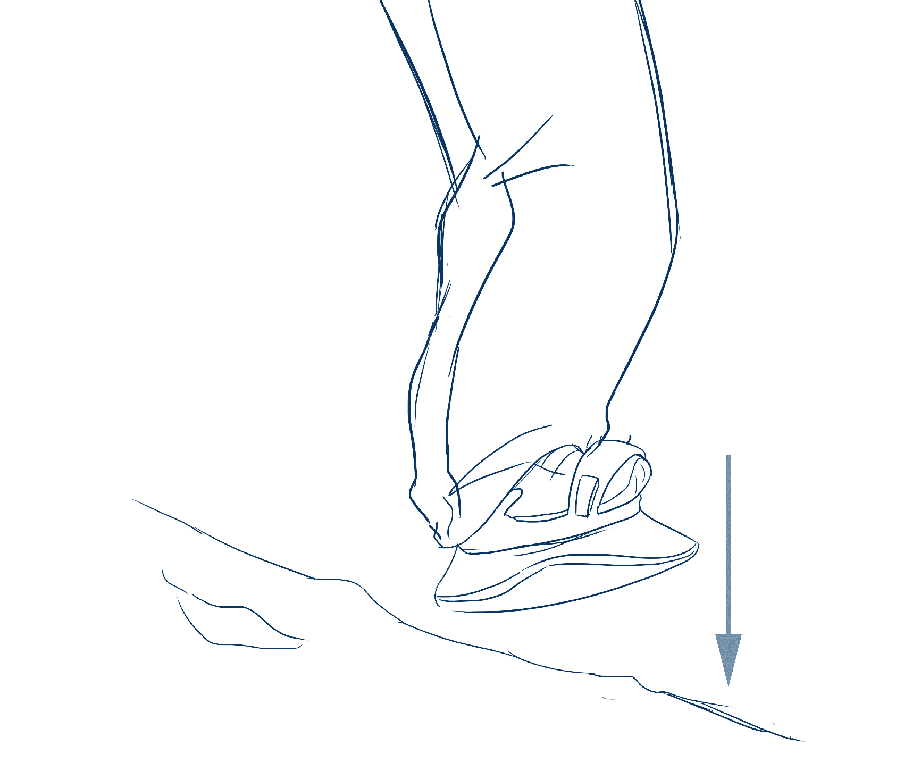
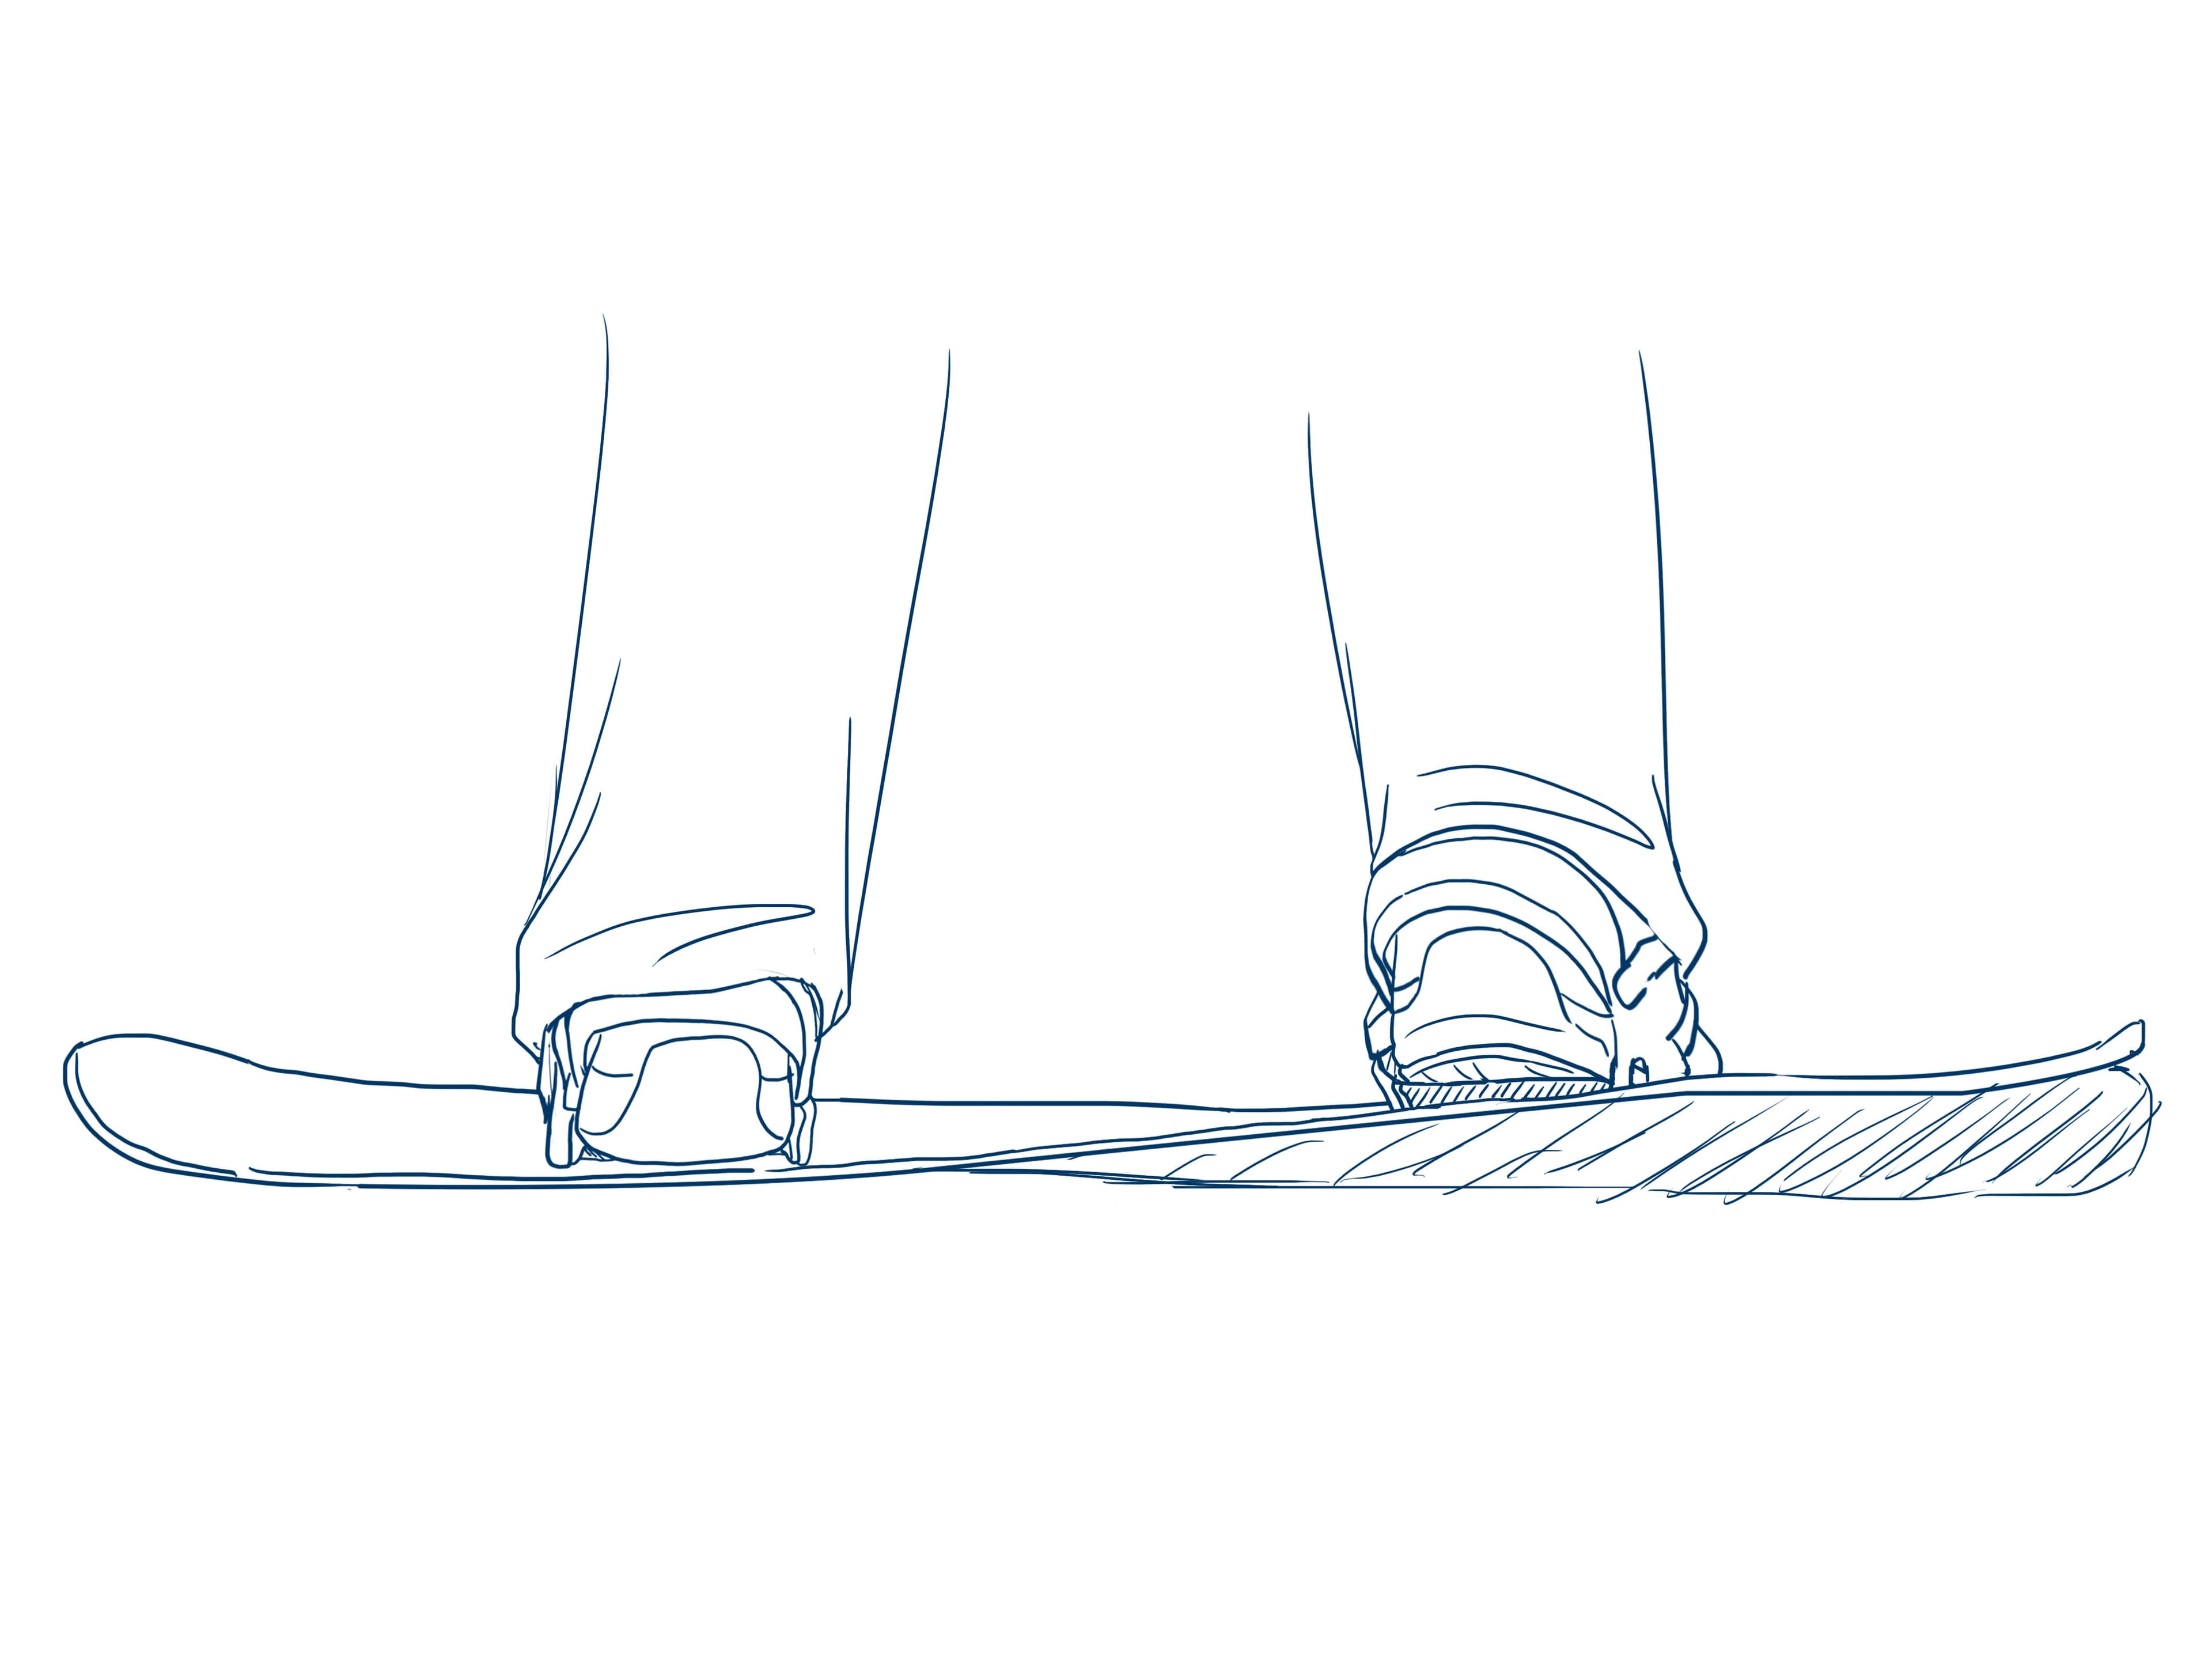
The term edging up and down is used independently of the edge on which the movement is performed. I
Edging up: Increasing the edging angle, more snow resistance -> slower
Edging down: Decreasing the edging angle, less snow resistance -> faster
Changing the edge
Changing the edge is when you change from the backside edge to the frontside edge or vice versa. This is necessary when turning, as otherwise you would catch an edge.
Loading, unloading and weight distribution
In the basic position, we put the same amount of weight on both feet. To feel a change in the load, we can move our upper body slightly towards the nose or tail with our hips. This automatically puts more weight on the snowboard on the side to which we have shifted our hips. Of course, the same also works in the other direction. Try this out and see how hard you can shift the weight until your nose or tail lifts off the ground. In most exercises, however, you only need to shift the weight very slightly onto the front or back foot.
Low and high position
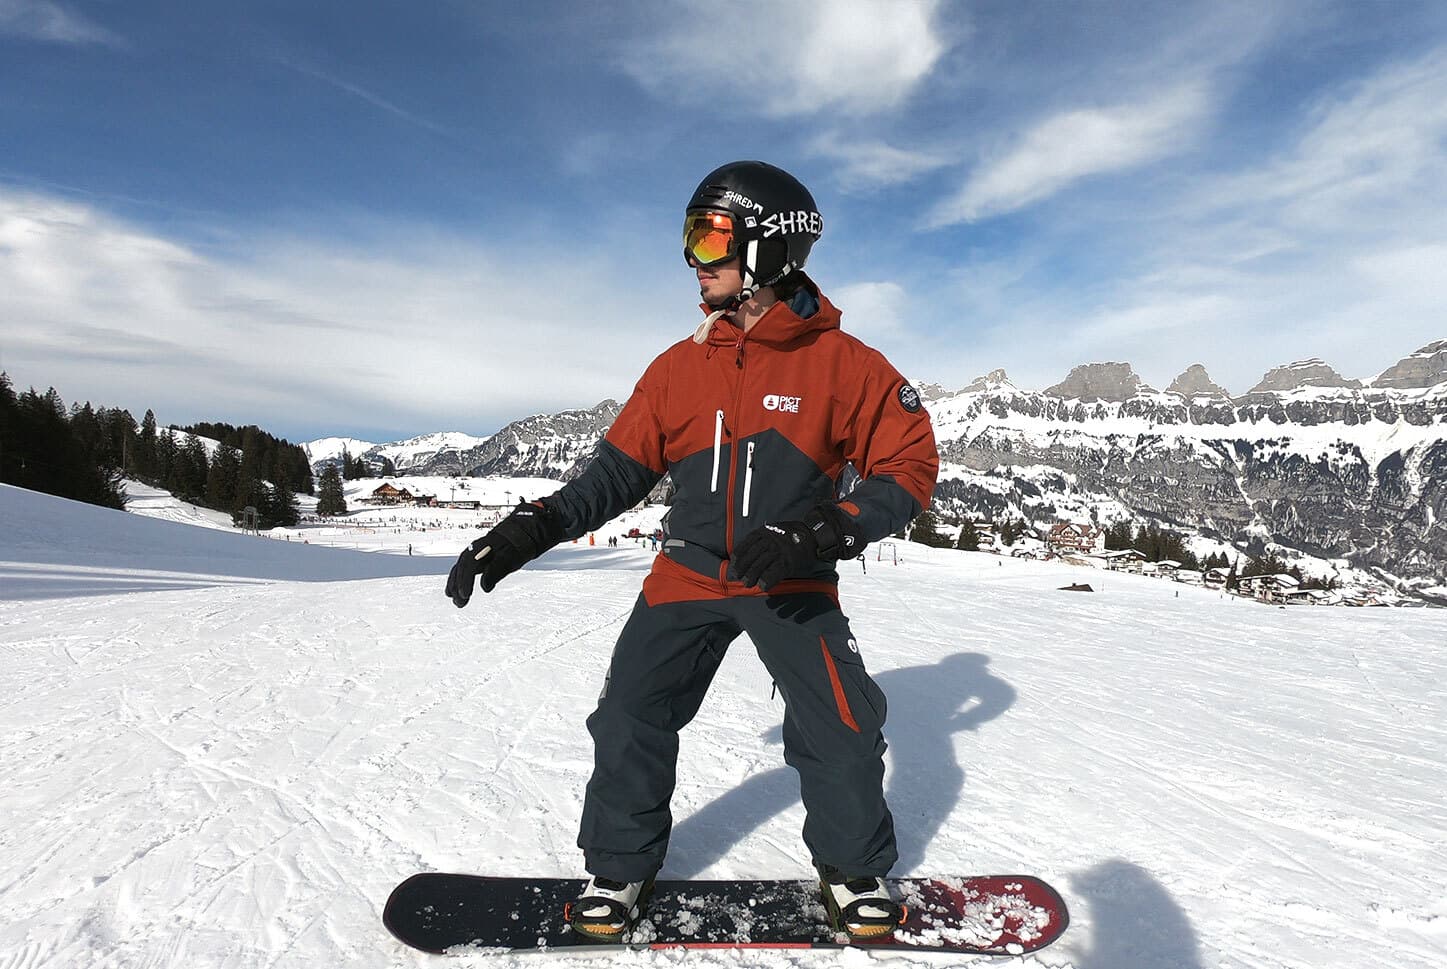
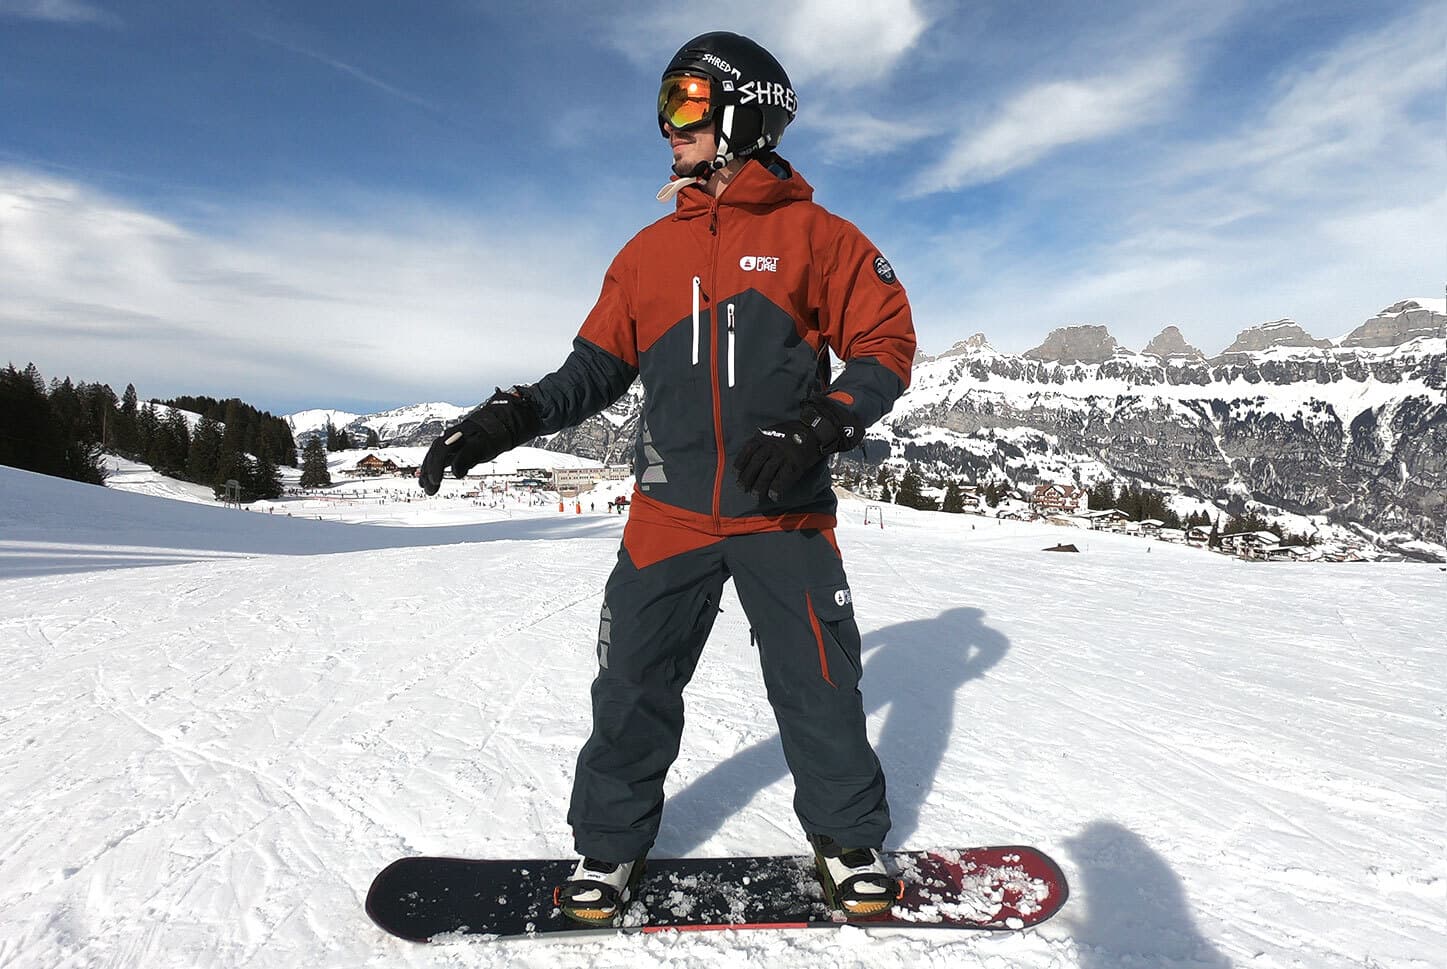
In a low position, we have to be careful to get into a squatting position and not just bend forward with our upper body. In a high position, we can stretch the whole body and make us as tall as possible. Most of the time you hear from snowboard instructors that you should get into a lower position when you think you're almost sitting in the snow. So exaggerate a little when practicing to get a better feeling for a low position.
Had enough theory?
Then let's continue with a foot in the binding 1.2 One Foot

Check your skill
Following skills are required to be ready for the next module.
